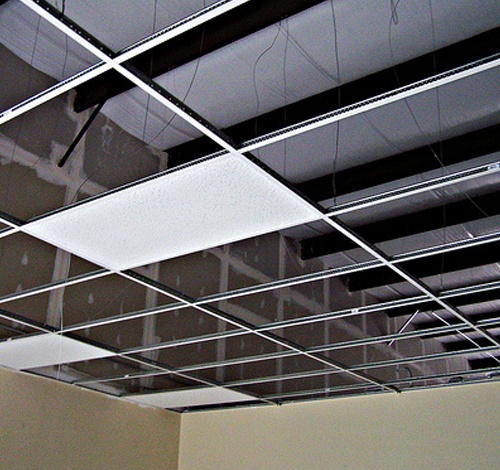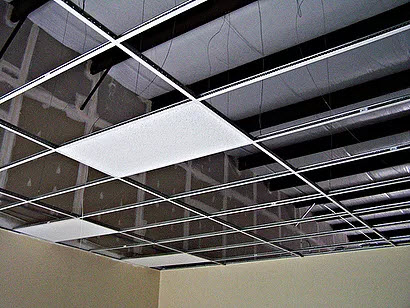
Suspended ceilings, also known as drop ceilings, can be used in a variety of settings. These kinds of ceilings are a great way to create a comfortable environment in an otherwise large and empty space. Also, the use of a suspended ceiling allows for lighting to be placed at an appropriate height and ductwork to be hidden above the ceiling. The popularity of these ceilings is proof enough that they are highly useful, but how are they put into action? Here’s how to install a suspended ceiling.
Plan Out Your Purchases

Before you rush out to buy the supplies you need, you’ll first want to figure out exactly what you’ll need to purchase. For starters, you need to have a number of ceiling panels in mind. That means making a detailed drawing of the space, so you can properly count up the panels that will be required. Of course, it’s unlikely that your room will happen to be the perfect size for you to use only full-size panels, so some trimming will almost certainly be required.
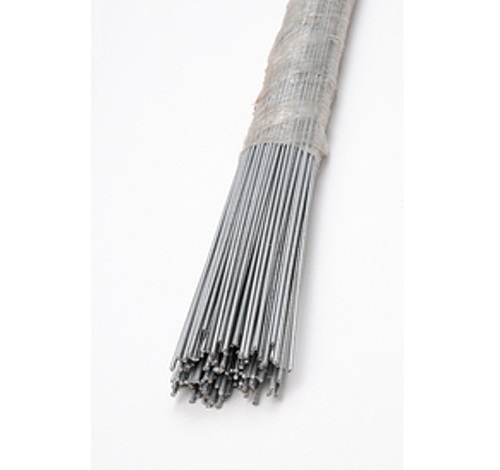
In addition to panels, you will need a few accessory pieces to be able to complete the job. You will need hanger wire along with other items such as main runners, wall angles, and cross tees. It’s best to collect everything you need up front, so you don’t have to stop the project halfway through in order to find more materials.
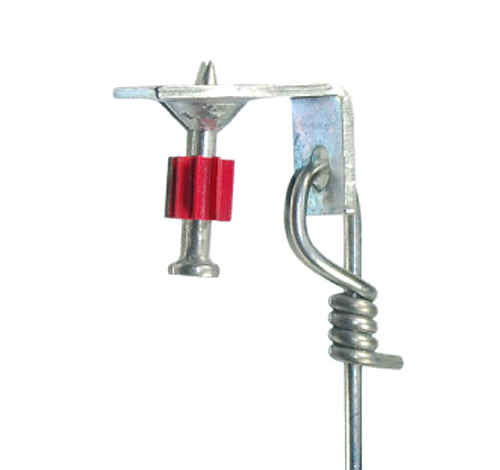
Vulcan Wire is pleased to offer pre-tied pin and clip suspended ceiling wire to make the wiring part of the job as easy as possible: Shop Ceiling Wire Now.
| GAUGE & LENGTH | BUNDLE QUANTITY | PART # |
| 12 GA X 4’ | 100 | APC12#G0400 |
| 12 GA X 6’ | 100 | APC12#G0600 |
| 12 GA X 8’ | 100 | APC12#G0800 |
| 12 GA X 10’ | 100 | APC12#G1000 |
| 12 GA X 12’ | 100 | APC12#G1200 |
(25 bundles = 1 log). Custom lengths available upon request (4’ – 20’)

Establish Your New Ceiling Height

As the name would indicate, adding a drop ceiling to a room means you are going to be lowering the height of the ceiling by a certain amount. You will need to determine how far you would like the suspended ceiling to hang down before you begin the installation process. It’s crucial for your ceiling to be level from wall to wall, so mark a line along each wall at the desired height and make sure everything is even and level before moving on.
Building a Framework

Once the ceiling is completed, the panels that will be the most prominent feature. However, during the construction work, it is really the brackets that are going to be at the heart of the job. If you can place the brackets in the right spots to build a level framework across the room, it will be easy to add the panels later on.
- Angle Brackets. The first piece of the framework to go into place will be the angle brackets that run along the walls. These brackets will be set in accordance with those lines you placed on the walls earlier.
- Screws in Ceiling Joists. Next, you will need to place screw eyes in the ceiling joists to match up with your intended layout. The typical plan is to run the long panels parallel with the direction of the ceiling joists above.
- Hanger Wire. Once you have a network of screw eyes in place in the right spots, it will be time to move on to the hanger wire. Keep reading for more info on that process.
Cutting & Installing Ceiling Wires

The hanger wire is what allows your ceiling to sit at the desired height once all is said and done. You’ll need to cut hanger wire pieces to hang down at exactly the right length in order to attach the runner strings. The ceiling wire available from Vulcan comes in a pre-tied pin and clip model to make this process easier.
As you continue to add runners, be sure to frequently check to confirm that all pieces are level. You may find that you need to adjust your hangers a bit here and there in order to produce a level ceiling.
Add the Finishing Touch
As mentioned earlier, it is really the framework of your drop ceiling that is going to make up the majority of this project. Once you have the grid all finished up, adding the panels shouldn’t take long at all. You will simply need to tilt the panels at such an angle that they will be able to slide up through the grid and into place. Also, you will now need to make your panel cuts to create pieces that fit into the sections of the grid which are less than full size (i.e. around the edges of the room).
Buy Suspended Ceiling Wire For Your Project

If you need a few specific supplies to install your drop ceiling, Vulcan Wire would be happy to help. Our suspended ceiling wire is the perfect product for the job, making it easier thanks to a pre-tied pin and clip design. For the answers to any questions you may have about our products, please contact us right away. Thanks for stopping by!


